Okay, this is a continuation of yesterday's blog post because I had not yet finished the project I wanted to talk about. Finally it's done, but first I need to introduce you to the MVP of the process:
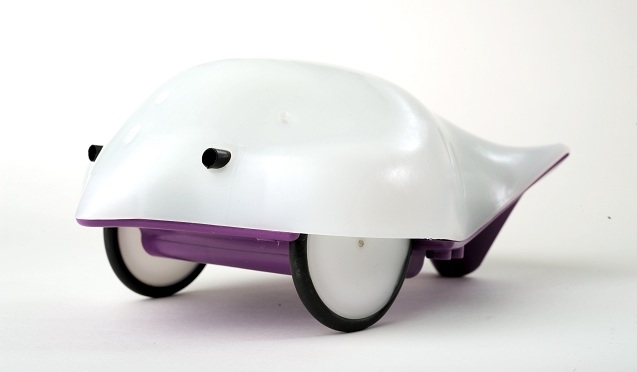
Image courtesy of BirdBrain Technologies!
This little terror is called a Finch. It's a robot developed at Carnegie Mellon University as a tool to teach kids to code. You can read up more about it here. It's a great tool for kids to get their hands dirty with robotics and coding in a classroom setting, but right now, the white glossy plastic with small black "eyes" (sensors) can be pretty off-putting for kids under a certain age. To counter this decidedly boring aesthetic, I was asked to create a "sticker sheet" for kids to decorate their own Finch Robots.
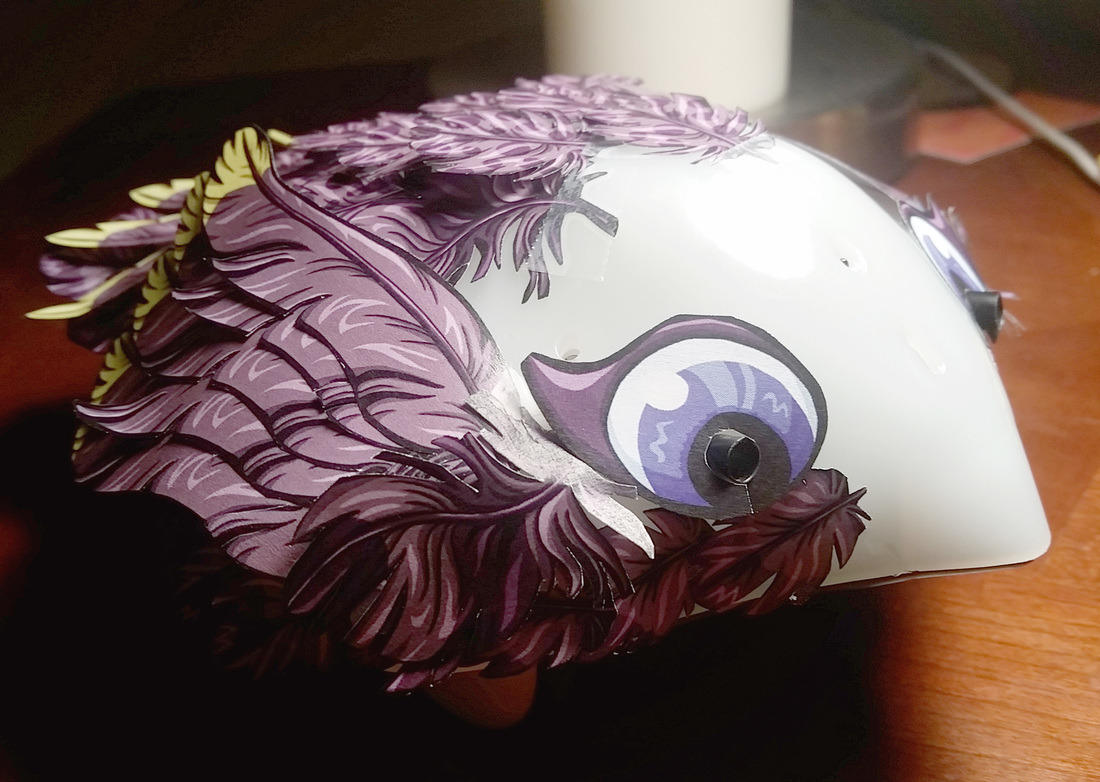
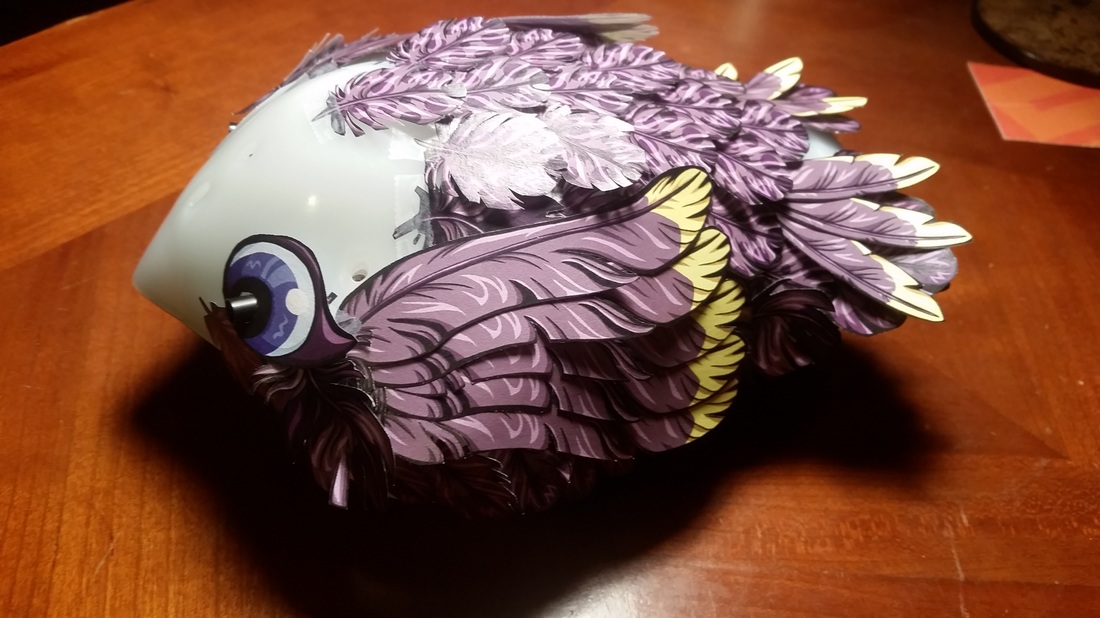
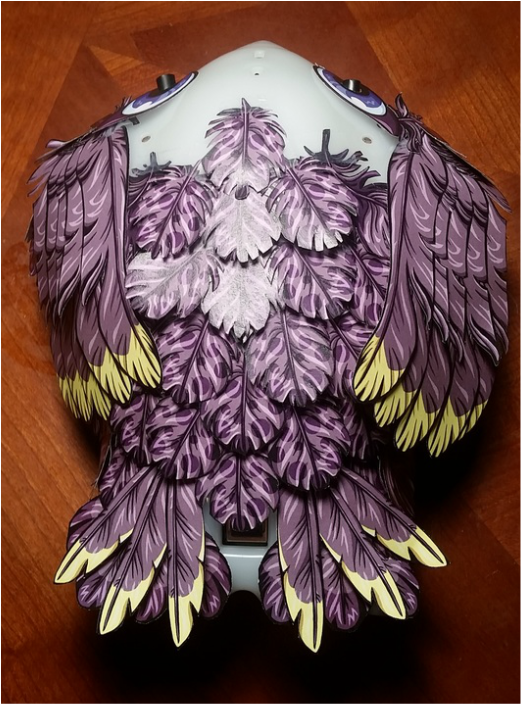
80 feathers later, I give you the end result:
80 feathers later, I give you the end result:
This was a great learning experience for developing 2D art for a 3D, real-world output. Because I didn't get the stickers custom cut, I had to hand-cut every single feather... and it turns out that's an extremely time-consuming (and finger crushing) experience. I would say I spent about 4.5 hours making thh feather sheet in Photoshop, and then another 5 hours just cutting out feathers. In hindsight there were probably much more efficient ways to do this, but YOU LIVE YOU LEARN.
You'll notice that the Finch's face is bare-bones naked. This is by design (though inadvertently makes it look a bit too much like a terminator-robot with its skin burned off). The reason for the naked face is due to the sensors that cover the front of the robot. There are small holes over the top of the plastic, as well as black straw-like protrusions that I had to work around. Finally, the tip (beak) of the device lights up to indicate different code inputs, so I couldn't cover any of that up.
You'll notice that the Finch's face is bare-bones naked. This is by design (though inadvertently makes it look a bit too much like a terminator-robot with its skin burned off). The reason for the naked face is due to the sensors that cover the front of the robot. There are small holes over the top of the plastic, as well as black straw-like protrusions that I had to work around. Finally, the tip (beak) of the device lights up to indicate different code inputs, so I couldn't cover any of that up.
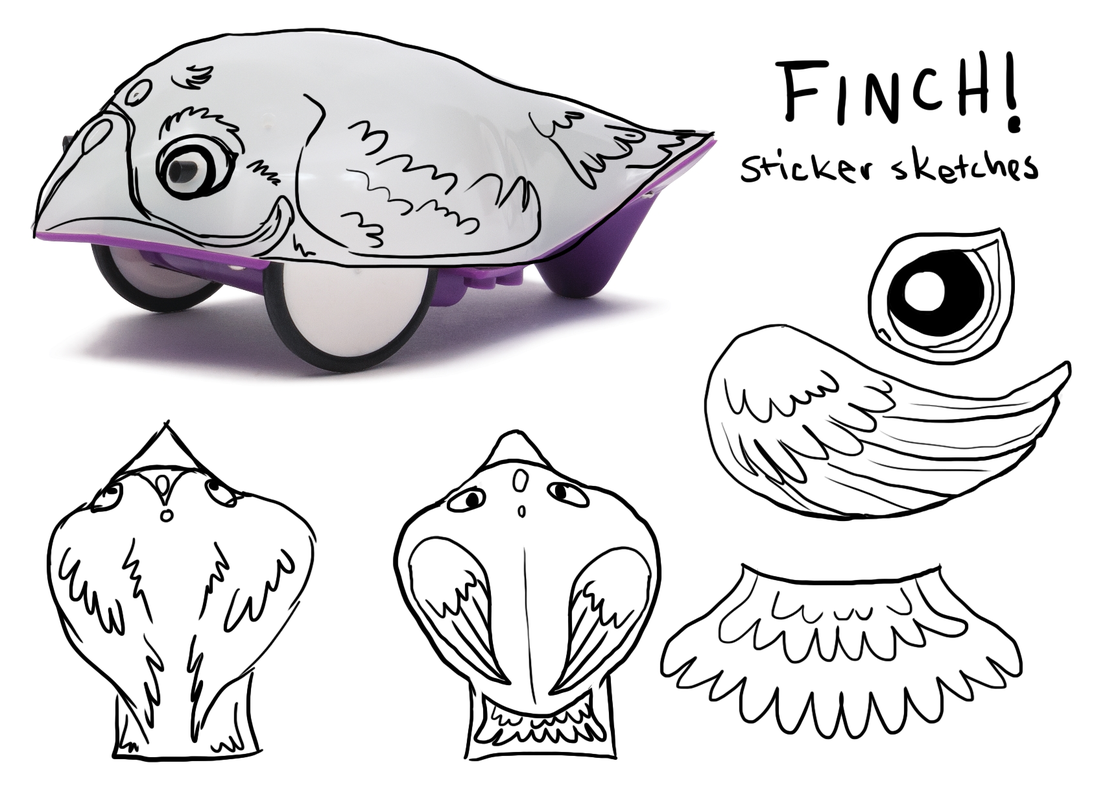
This is the early preliminary sketches I did for the client. Early on in the design I toyed with keeping the tail and wings together as whole pieces, but the idea was scrapped so that kids could take more creative liberty with placement (and also take care to avoid the sensors).
Overall, this was a fun prototype to create. It's great to see my work be put to a practical use for the classroom! I also created a color-free version so students can color their own sticker creations. Though for future uses I would suggested getting these stickers to a professional printer that can custom cut them. Because no one needs to watch five episodes of 60 Days In while they're cutting up an endless supply of feathers.
Overall, this was a fun prototype to create. It's great to see my work be put to a practical use for the classroom! I also created a color-free version so students can color their own sticker creations. Though for future uses I would suggested getting these stickers to a professional printer that can custom cut them. Because no one needs to watch five episodes of 60 Days In while they're cutting up an endless supply of feathers.


 RSS Feed
