
One fast-n-dirty trick I use to give my drawings added interest is overlaying hand-made textures in the design. Once I have a drawing finished and the colors figured out, I spend a bit of time integrating textures from my personal texture bank in the image. The difference can be subtle, but I think it helps give my work a more traditional feel, which can sometimes get lost when I'm working exclusively digitally.

No Textures!

Textured!
While there are lots of great resources for textures out there (Lost and Taken is one of my favorites, CG Textures can be great as well), when I'm making a big piece that really showcases the textures, I like to make my own. There are a bunch of different ways to do this and many involve raiding your basement for garbage and papers you forgot about. One of my favorite effects can be achieved by grabbing some wood stain and card stock of the shelf and taking them to a *well ventilated* area.
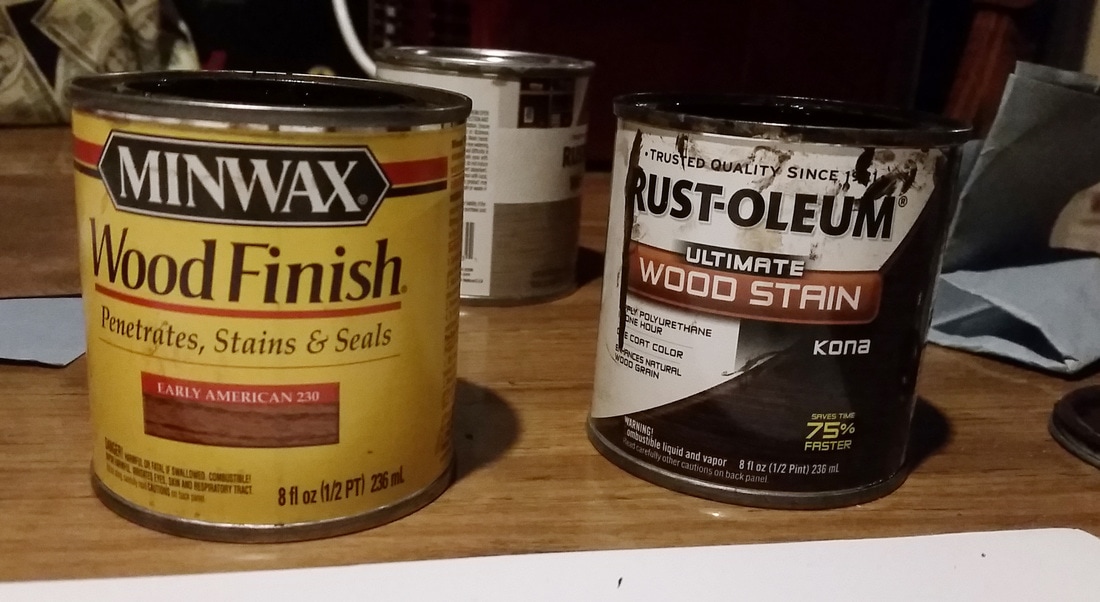
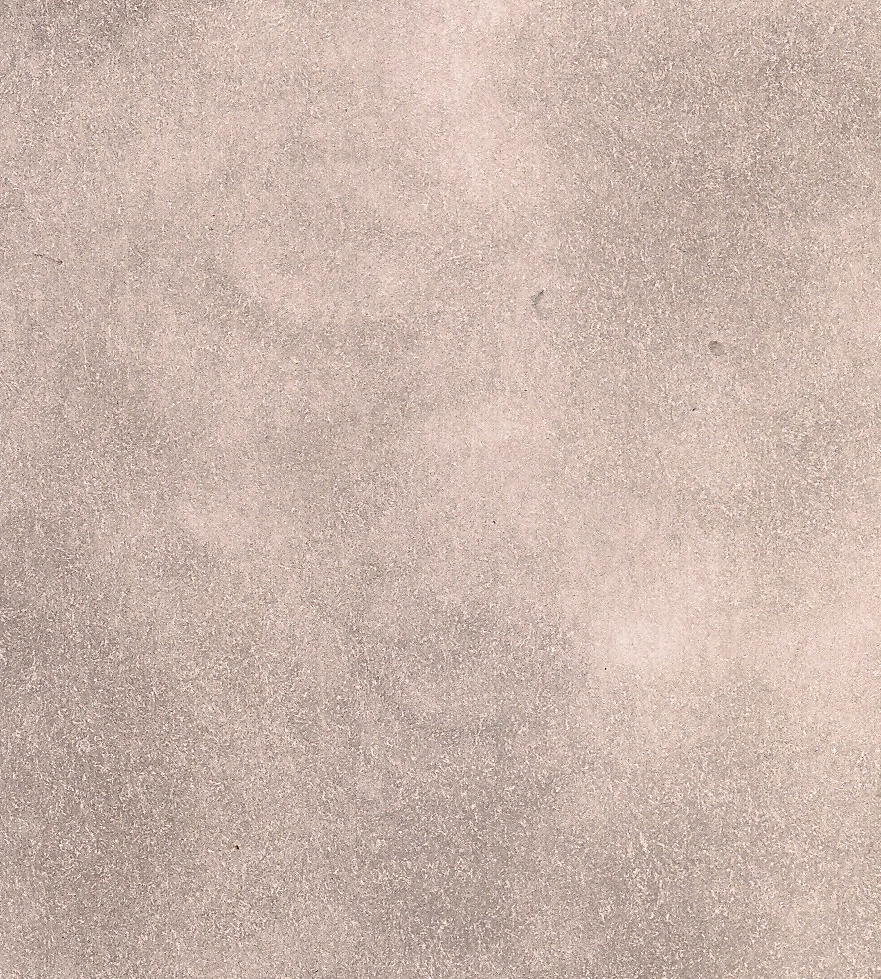
I used a paper towel to spread the stain over card stock and plain old construction paper (I like construction paper because it already has a soft, pulpy look to it). I take a saturated piece of paper towel and sweep over the card stock in small circles. Since wood stain is generally made for wood the paper absorbs it very quickly, so it's best to try to cover as much ground as you can before re-dunking your paper towel. I find that patting off the excess stain before touching your working paper helps keep the stain even over the paper.
 Itty-bitty circles. |  |
Small circles keep the whole paper looking cohesive and prevents long streaks in the pattern. I start in the corners and pull the stain out from there, that way the edges are the darkest point. This helps give the texture a more naturally-weathered look.
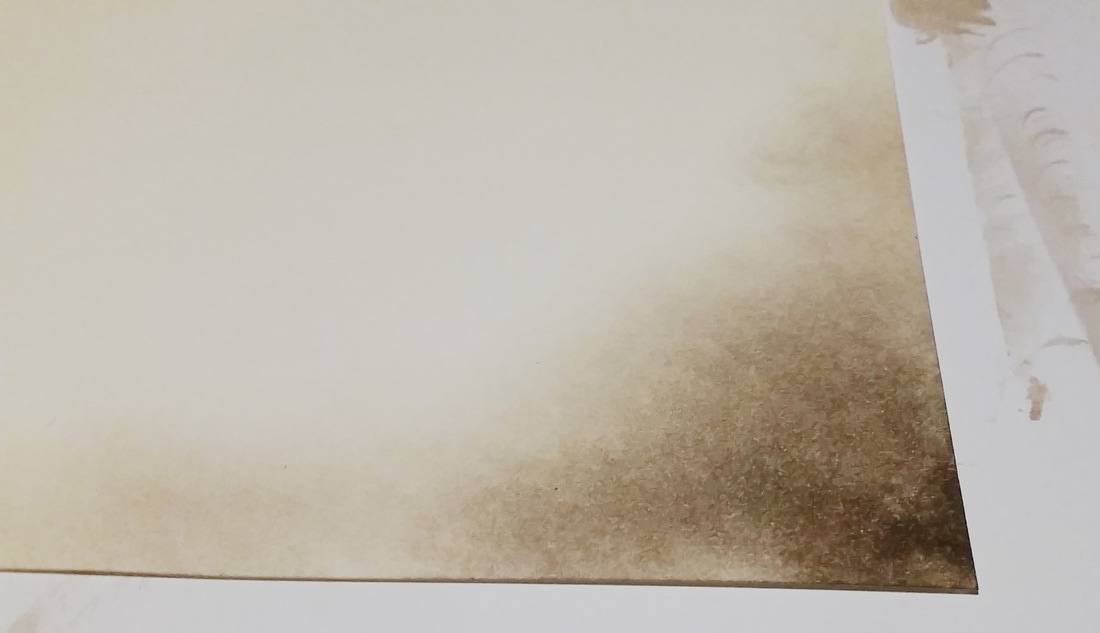
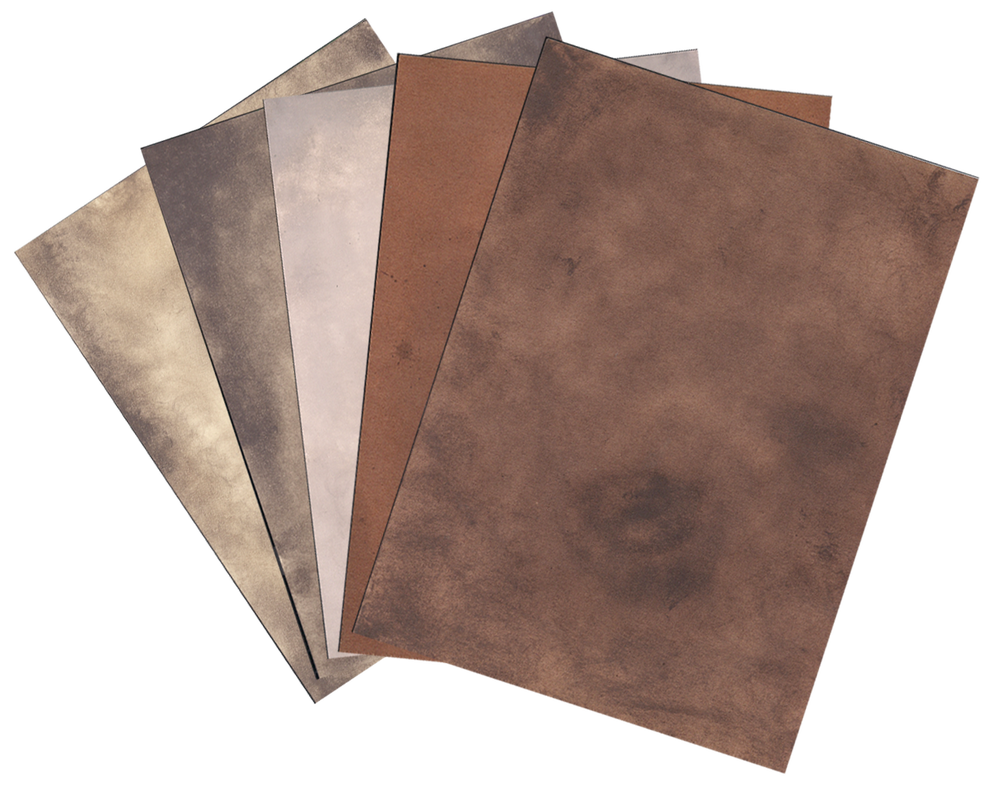
I find that using lighter papers work best when you're using multiple shades of stain; the different colors in the stain tend to get lost on a darker construction paper or card stock. Darker paper works when you're using only one shade of dark stain like walnut, and the darker paper also takes well to flecking.
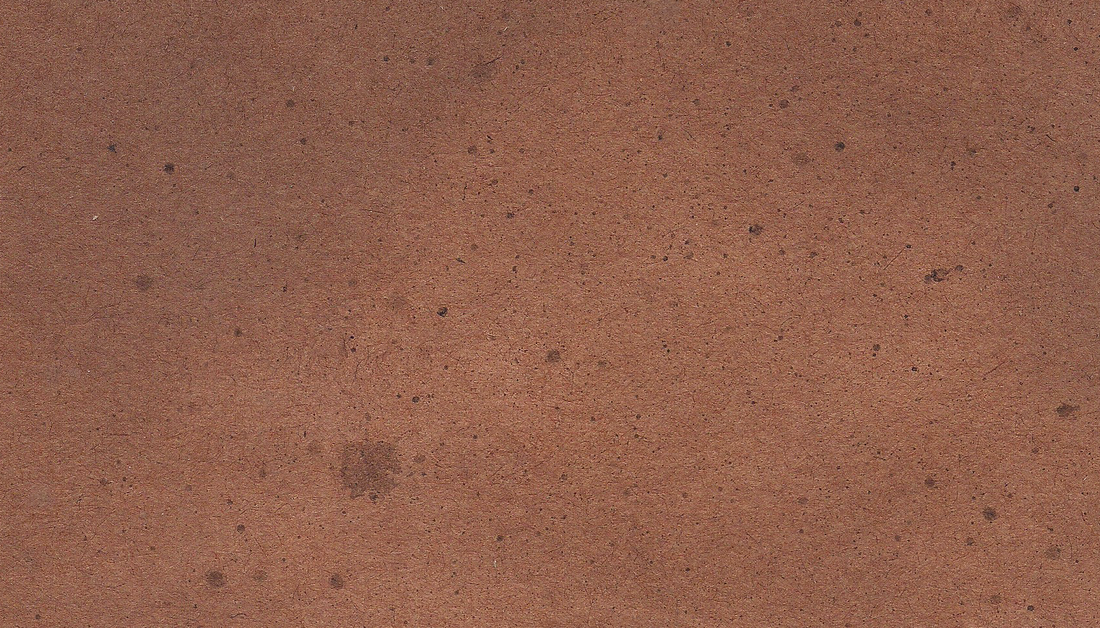
Construction paper with dark wood stain and flecked with gross coffee water.
I'll be putting together a more detailed tutorial in the coming weeks, along with a set of textures to download, so keep an eye out!


 RSS Feed
